Article index:
1 – Overview
Thanks to the new Raspberry Pi 2 board and its powerful quad-core CPU, I could create a full version of GLSL Hacker for Raspbian. The first version of GLSL Hacker for RPi I released more than one year ago was limited to the core functions: no plugins, no keyboard and no mouse support. It was rather a pointless version.
This time, I spent nearly 2 weeks to fully update the Raspberry Pi version of GLSL Hacker. And now, we have an usable version of GLSL Hacker with plugins and input (keyboard + mouse) management.
So if you want to code a 3D demo or a small game for the Raspberry Pi platform or even play with the GPIO, GLSL Hacker is there!
GLSL Hacker 0.8.2 for Raspberry Pi comes with the following plugins:
– Python 2.7
– FreeImage
– FreeType GL
– FFmpeg
Other plugins we find on Windows/OSX/Linux versions of GLSL Hacker such as PhysX, FBX, FMOD or Leap Motion are not available on Raspberry Pi.
GLSL Hacker renderer has been updated to properly support OpenGL ES 2.0 API.
The support of Raspberry Pi GPIO (General Purpose Input Output) has been added and is available in Lua and Python via a dedicated lib (gh_rpi). I will discuss more in detail about the GPIO and its programming in upcoming articles.
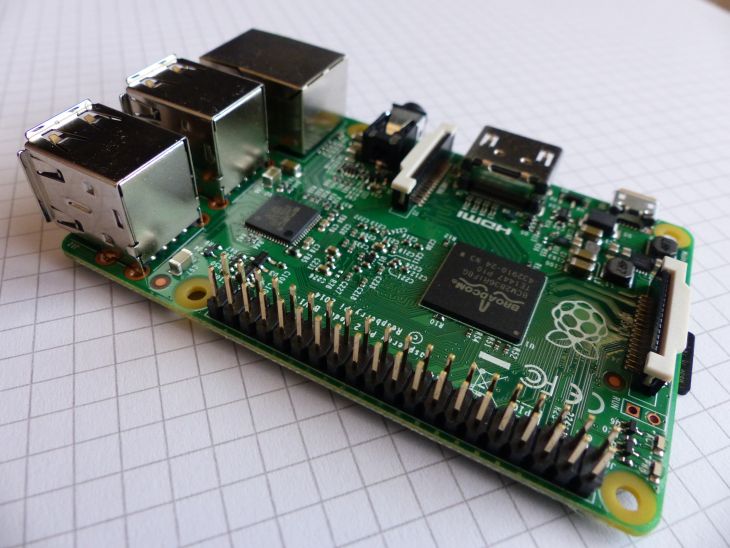
The Raspbverry Pi 2 GPIO 40-pin connector
2 – Downloads
You can download the latest GLSL Hacker for Raspberry Pi as well as for Windows, OS X and Linux from THIS PAGE. You can also download the Code Sample Pack from the same page.
3 – Code Samples
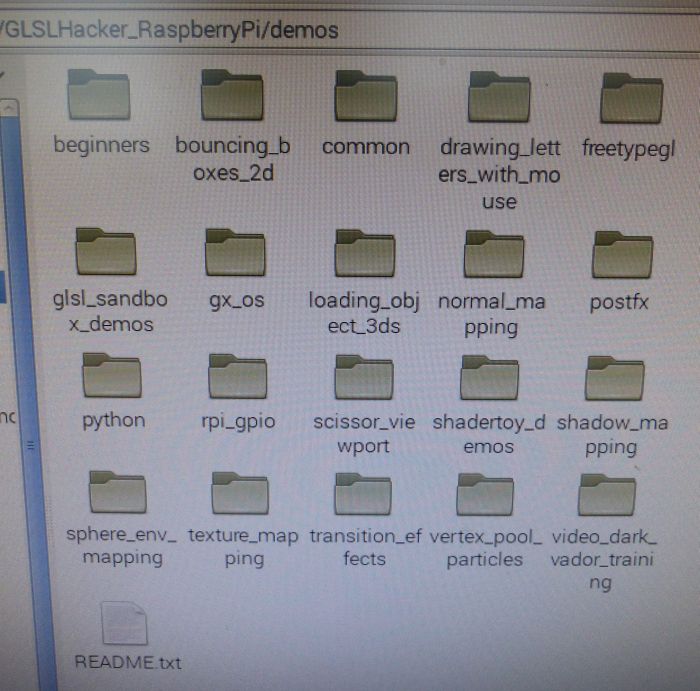
I didn’t ported all GLSL Hacker demos to the RPi, I only selected few of them that show common use cases (post processing, Python, particles, texturing, mouse and keyboard management).
The Raspberry Pi GPU (the VideoCore IV) supports OpenGL ES 2.0 and due to the difference between OpenGL ES and regular OpenGL 3.2 shaders, I put the code samples for the RPi directly in RPi GLSL Hacker (demos/ folder) in the official code sample pack in the opengl_es_20/ folder.
Here is a simple texturing GPU program that shows the differences between OpenGL 3.2 and OpenGL ES 2.0 (differences are in bold):
Vertex shader
OpenGL 3.2:
#version 150
in vec4 gxl3d_Position;
in vec4 gxl3d_TexCoord0;
uniform mat4 gxl3d_ModelViewProjectionMatrix;
out vec4 Vertex_UV;
void main()
{
  gl_Position = gxl3d_ModelViewProjectionMatrix * gxl3d_Position;
  Vertex_UV = gxl3d_TexCoord0;
}
OpenGL ES 2.0:
attribute vec4 gxl3d_Position;
attribute vec4 gxl3d_TexCoord0;
uniform mat4 gxl3d_ModelViewProjectionMatrix;
varying vec4 Vertex_UV;
void main()
{
  gl_Position = gxl3d_ModelViewProjectionMatrix * gxl3d_Position;
  Vertex_UV = gxl3d_TexCoord0;
}
br/>
Fragment shader
OpenGL 3.2:
#version 150
uniform sampler2D tex0;
in vec4 Vertex_UV;
out vec4 gl_FragColor;
void main()
{
  gl_FragColor = texture(tex0,Vertex_UV.xy);
}
OpenGL ES 2.0:
uniform sampler2D tex0;
varying vec4 Vertex_UV;
void main()
{
  gl_FragColor = texture2D(tex0,Vertex_UV.xy);
}
How to launch a code sample?
1 – edit the start.sh file (in GLSL Hacker folder) and uncomment (by removing the #) the demo you’d like to launch.
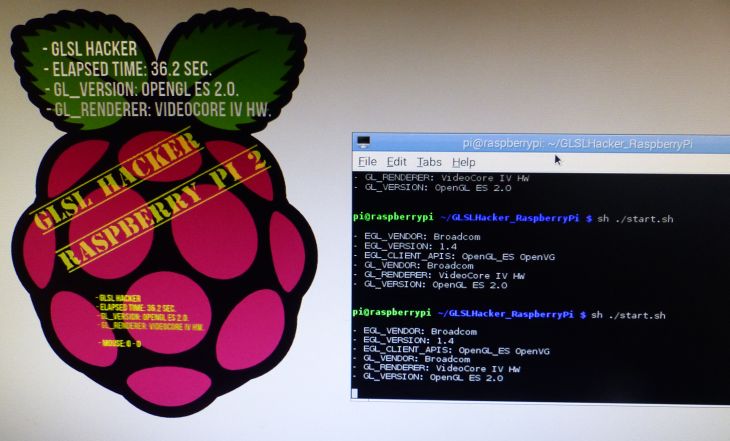
2 – open a terminal in GLSL Hacker folder
3 – run the following command:
pi@raspberrypi ~/GLSLHacker_Folder $ sh ./start.sh
4 – Screenshots
Here are some screenshots (from this thread):
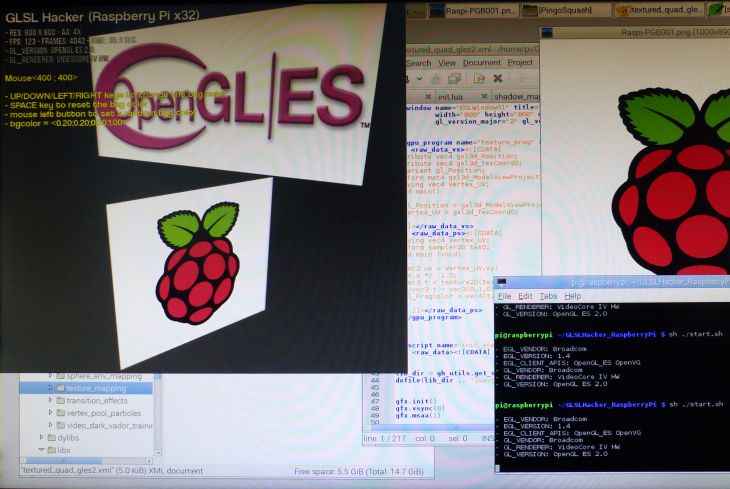
code sample pack: demos/texture_mapping/

code sample pack: demos/vertex_pool_particles/
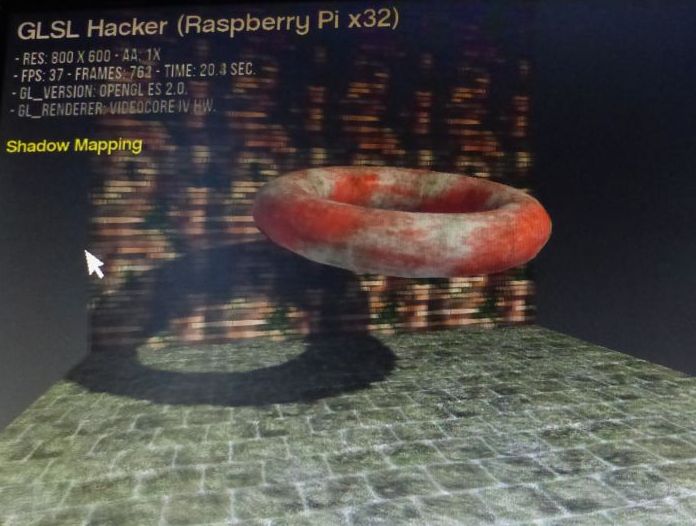
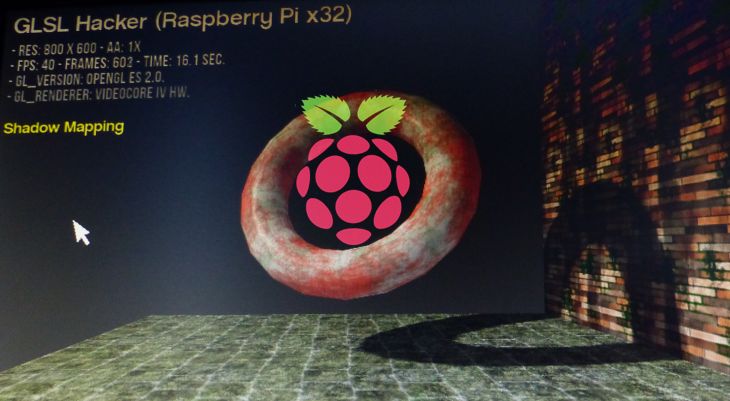
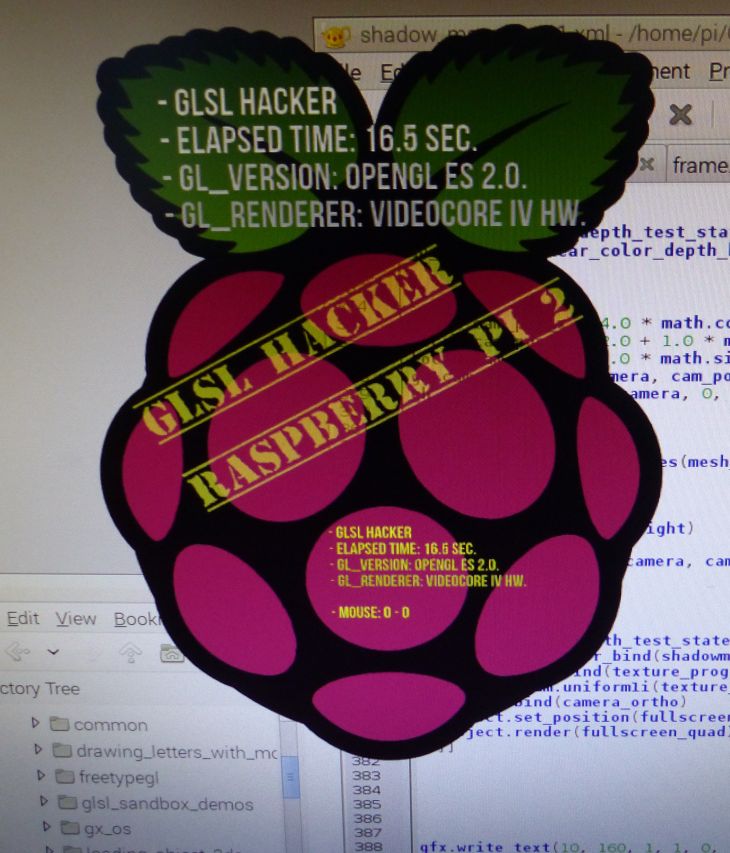
code sample pack: demos/shadow_mapping/
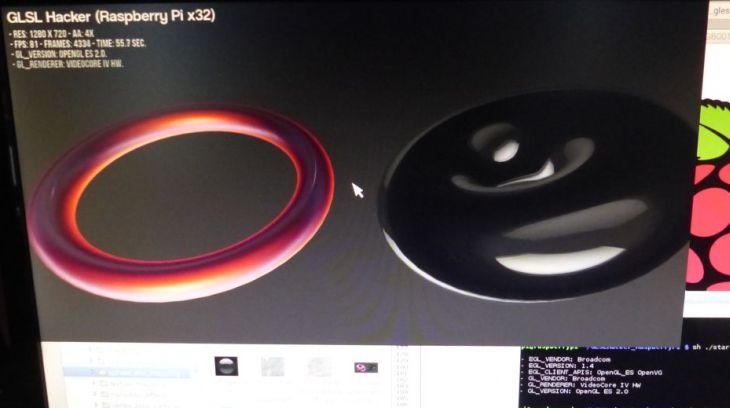
code sample pack: demos/sphere_env_mapping/
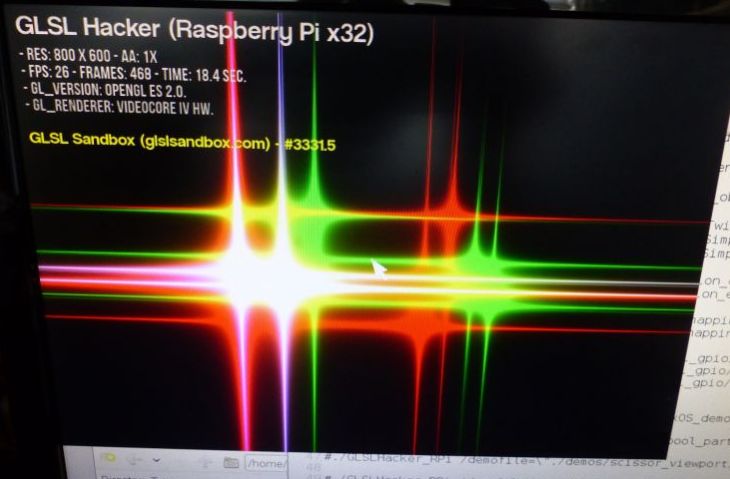
code sample pack: demos/glsl_sandbox_demos/
This last demo is interesting because it shows how alpha blending interacts with the desktop. The OpenGL ES context uses the same framebuffer than the desktop. In the RPi version of GLSL Hacker, there are no windows, there is only direct drawing to the video memory. So you cam mix your demo and the desktop colors together.
code sample pack: demos/freetypegl/
“The Raspberry Pi GPU (the VideoCore IV) supports OpenGL ES 2.0 and due to the difference between OpenGL ES and regular OpenGL 3.2 shaders, I put the code samples for the RPi directly in RPi GLSL Hacker (demos/ folder).”
Please make a folder for the OpenGL ES 2.0 shaders titled GLSL ES 2.0, this would better describe the shaders. Also the newer versions of OpenGL support creating an OpenGL ES context. Would be a nice addition to the glsl-hacker for desktop systems.
Yep, why not, after all a code sample pack with all demos is better. Thanks for that feedback!
Code sample pack updated with OpenGL ES 2.0 demos!
Usually in WebGL you’d make a draw call, and would have to specify where to start drawing and how many vertices to draw in every single call and it would be obvious that you can just “not draw” parts of your geometry, or split it into several draw calls.