Article index:
- 1 – The Raspberry Pi Model B Board
- 2 – The Raspberry Pi Model B Power Supply
- 3 – Preparation of the Raspberry Pi Operating System
- 4 – Raspberry Pi: First Boot
4 – Raspberry Pi: First Boot
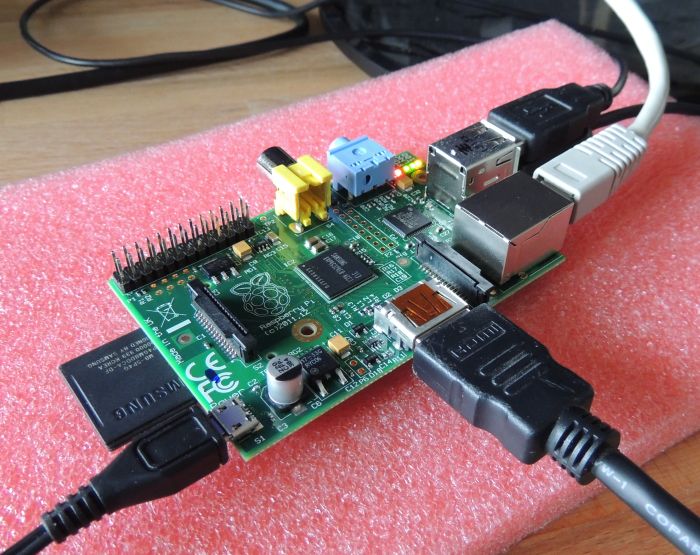
Now the most important moment: the first boot. I connected an USB keyboard and mouse, a RJ45 ethernet connector, a LCD monitor connected via the HDMI port, the SD card and the micro USB power supply:
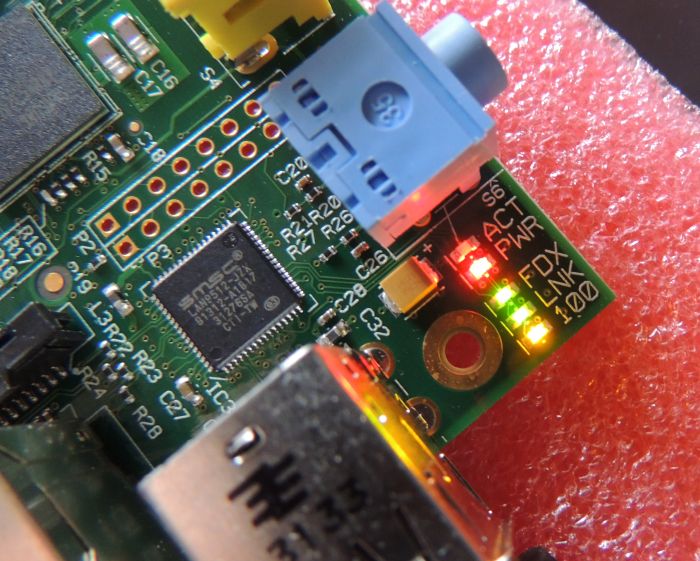
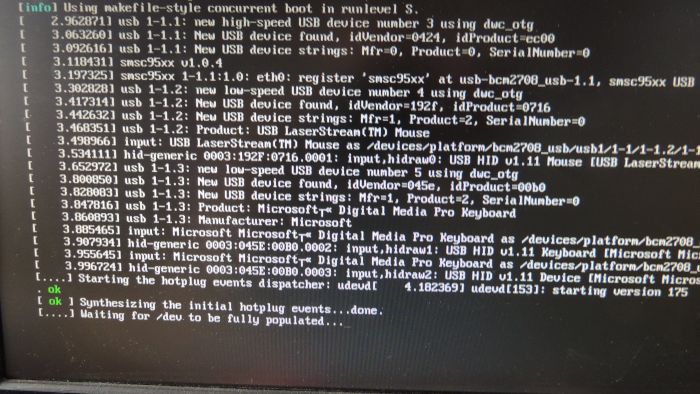
If the card is not damaged, the LED indicators should turn on like that:
And you should quickly see this screen:
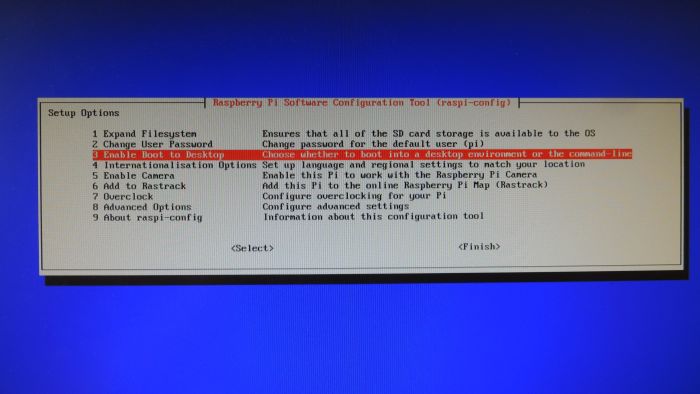
I validated Finish and Raspbian finally started up:
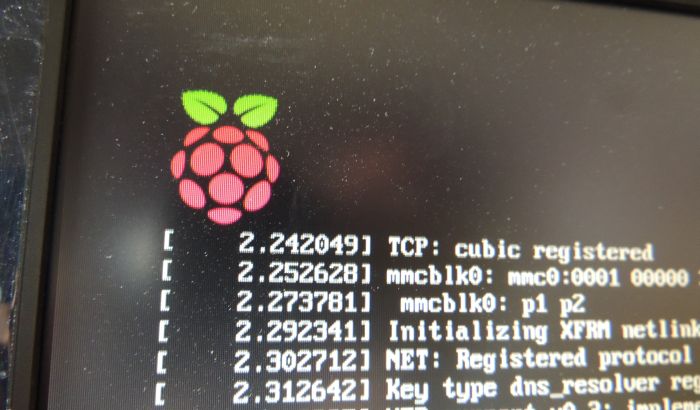
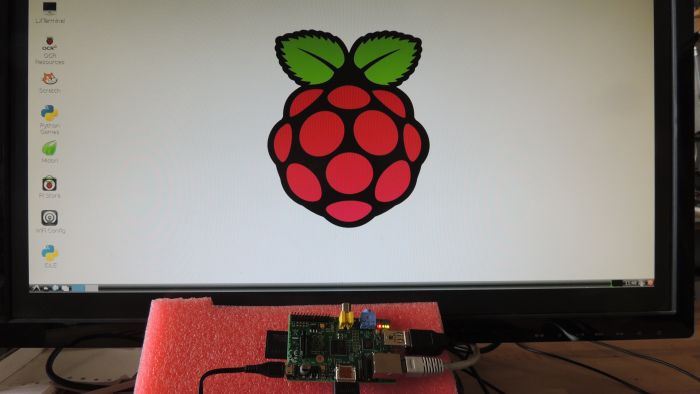
Once the boot of Raspbian is over, you should have this screen:
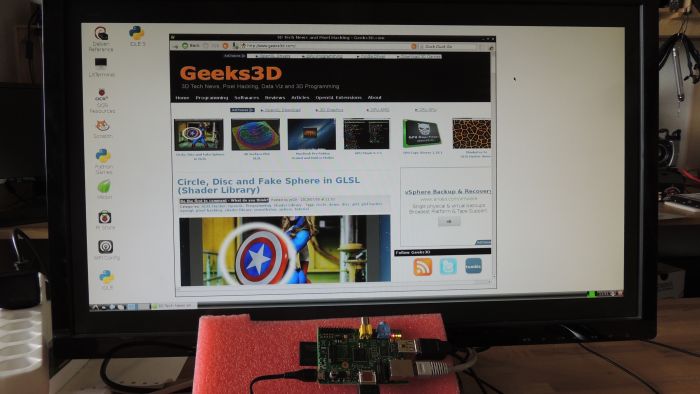
The nice thing is that you have now a fully functional Linux system: you can immediatly browse the Net:
Here is some information about the Linux kernel as well as the GCC version:

My first contact with the Raspberry Pi board is a success. Now the next step is to update and compile my new 3d framework… Stay tuned!
Article index:
- 1 – The Raspberry Pi Model B Board
- 2 – The Raspberry Pi Model B Power Supply
- 3 – Preparation of the Raspberry Pi Operating System
- 4 – Raspberry Pi: First Boot
You will want to cross compile the 3D framework rather than compiling on the device as it cpu is only 700mhz, although it can be over clocked and volted to over 1ghz when using the Governor CPU scaler.
you should get an Odroid-U2/X2 instead that crappy raspberry :p
Thanks lolo for the info. I didn’t know that board and indeed it seems more powerful than raspberry pi. More info about odroid HERE.